Saturday, October 22, 2011

The Green Side - 18 inch Christmas Throw Pillow Covers

So you probably remember this - 2 days ago right?

And I didn't show you the green side.  So I had to make the bands a bit off center and for someone like me, it's almost more than I can take.  I love symetry but you gotta do what you gotta do.


So with the extra pieces of left over fabric I made this CUTE fabric package bow.  The strips are 1" wide and make them as long as you can.  I stitched all the way down both sides.  You should see the pile of string left over after pulling it to make the fringe.

Click on these to see them larger.  I just sort of did by eye - sorry no measurements on the rest.  I sewed 2 together and them 4.  Then layered them.  Then hand stitched the center loop and then stitched it to the rest.  I love how it looks but I think I need to make it bigger for these pillows.  

But honestly - who can argue with handmade bows that use up fabric scraps and can be used for years? I may just have to make a bunch more!

Thursday, October 20, 2011

Seasonal - 18" Christmas throw pillows

So this first photo is so that you can get an idea of where the new throw pillows are going and the color of my couches.  You can see the old throw pillow covers on the couch - that was when they were new. 

This is what happens to linen after about 7 and a half years of wear with small children in the home. I bought the 18" pillows and the linen covers at Pottery Barn.  

Then I measured them to get an idea of what I needed in the new pillow cases.  Of course I am making Christmas covers and they will not remain on the pillows all year - at least until I can find some heavy duty cotton that is made to look like linen.

I decided on making them 17.5 inches because I want them to look a little more fluffy. And can you see why I picked this fabric - the green looks lovely on my couch.

I cut all 4 pieces.  The back is an envelope style so they overlap.  That means that I cut a 22" piece (wish it were longer but I was working with fat quarters here - I found them at Pine Needles - Yikes - new fave store)

Then I finished all the edges that would be showing. 

And left all the edges that will be finished later.   

I placed the band that would cover the envelope "seam" on the back. 

 Line up the first piece of the back.

Then line up the last piece.

Here is what it should look like. If you have a bigger piece of fabric make sure you make it overlap more.  It'll look better.

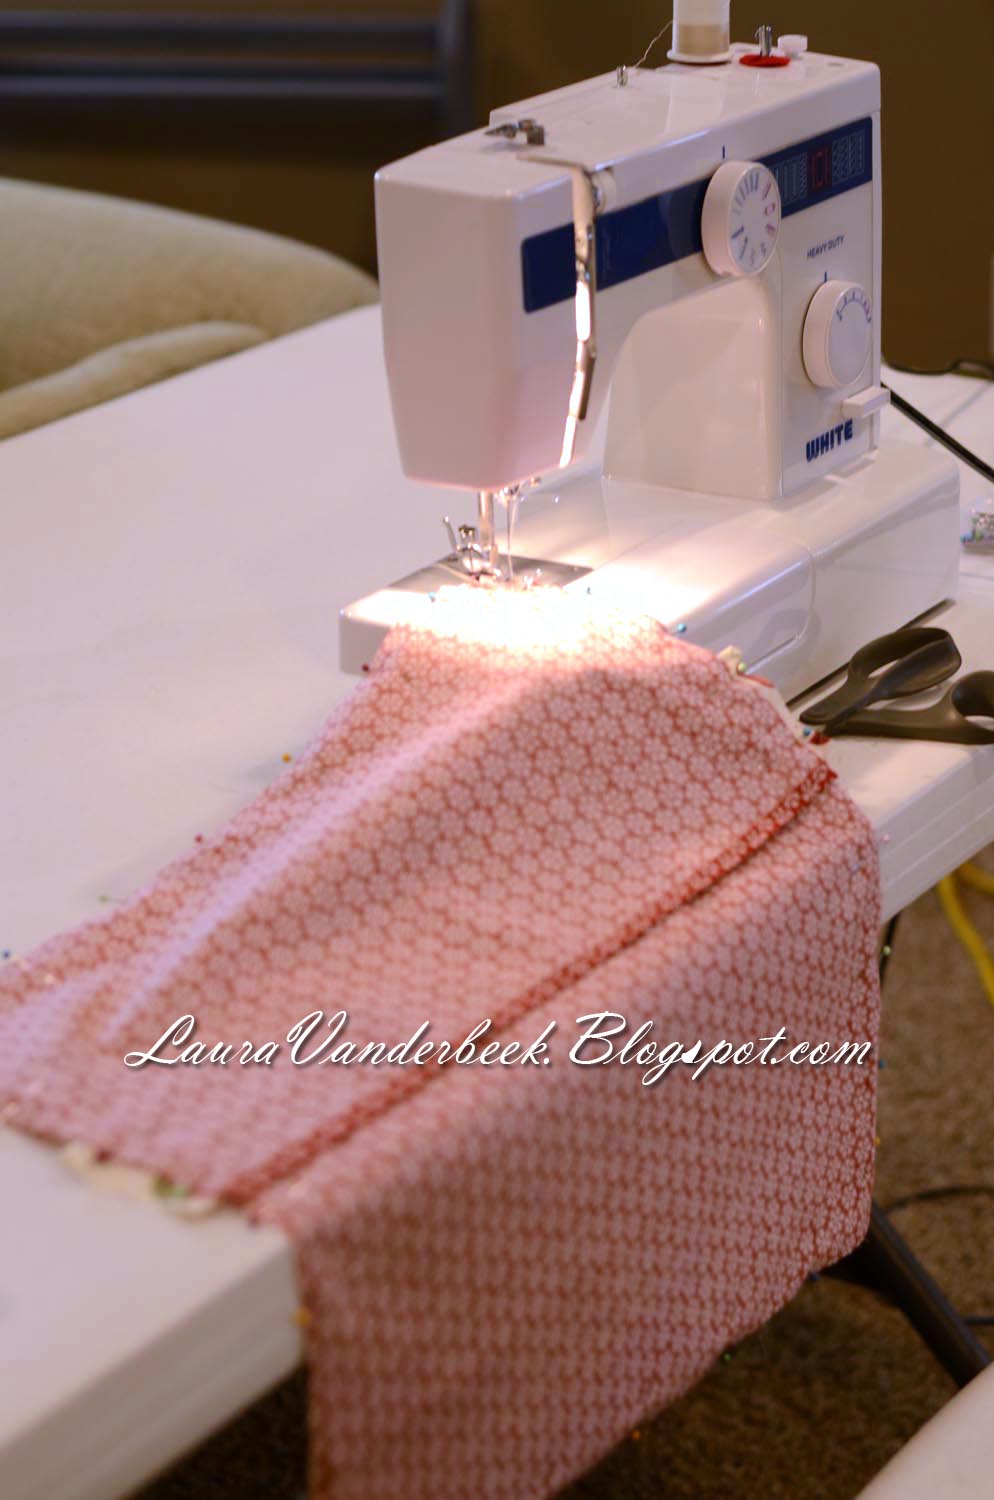
Pin it all together starting with the banded area and work to the right and then the left.

As you can see I used a regular sewing machine for this. 


I did a zigzag and then a regular straight stitch to finish it off.

Stitch length

Turn it inside out.

Iron it if needed.

Stuff it with the pillow.

And throw it on your couch.

Front and back.

Close up of the cute band. Don't you love it? 

Love this! 

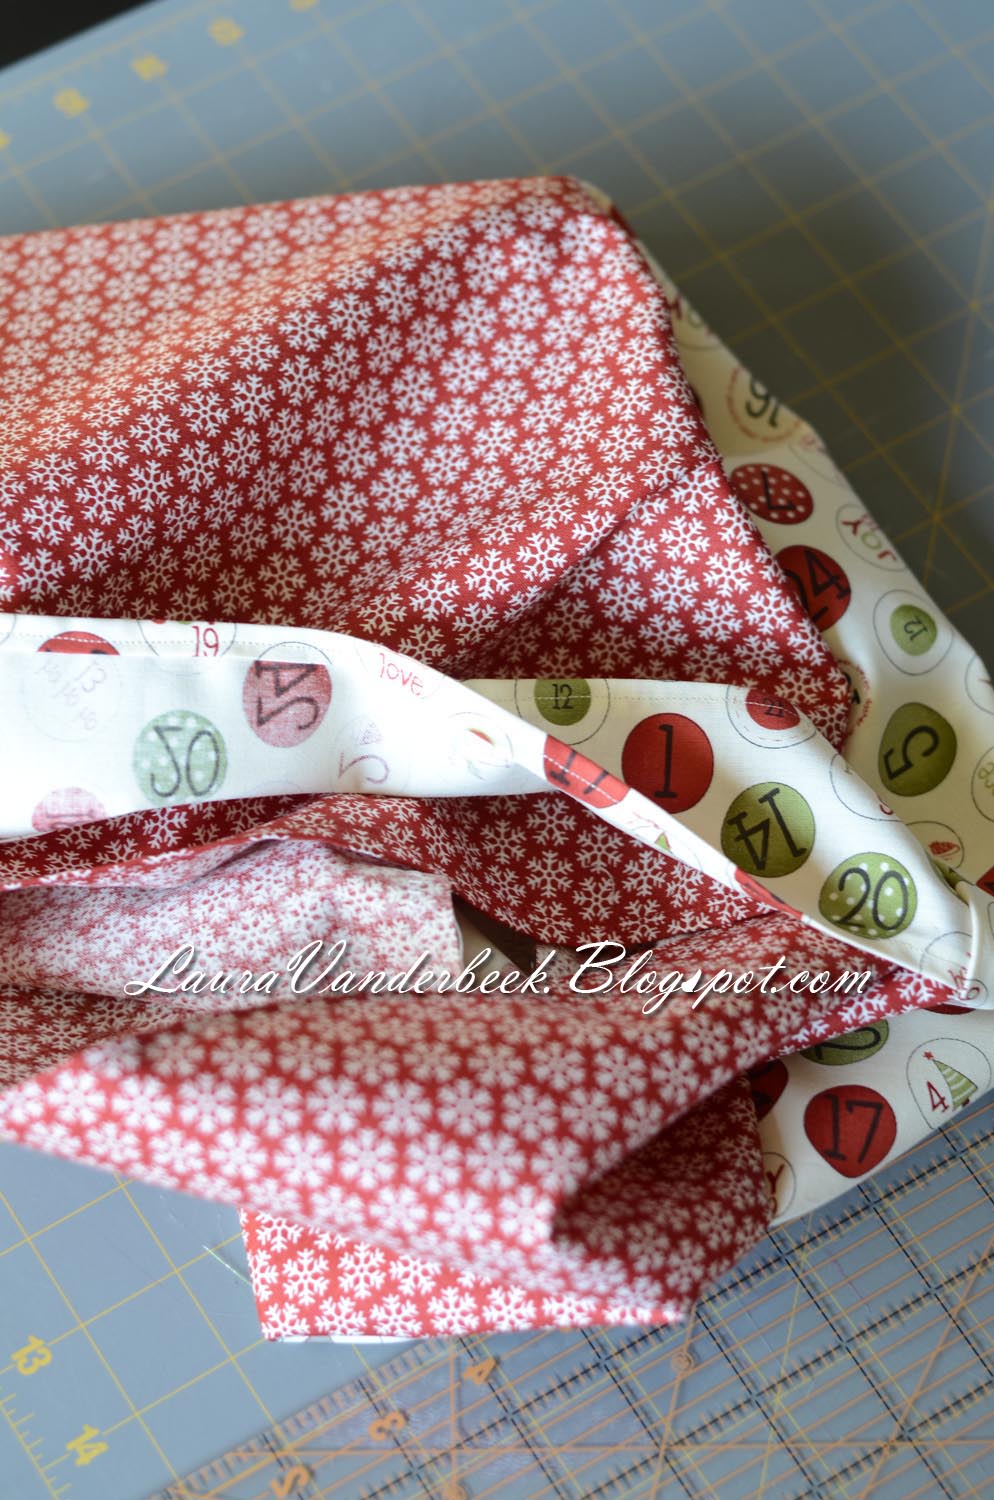
And this too. Isn't this fabric delicious?  It's by Moda I think.

Just having fun with the depth of field on my camera.  Then my son told me I needed to cover the big leather pillows.  So we went to the local quilting store and they happened to carry the same line.  I bought enough for pillows and an adorable Christmas apron for me.  

My daughter picked out two fat quarters to make a blanket for her 18" American Girl doll.  I love that she loves to sew too. And guess what???

She asked me to teach her to IRON.  

Friday, October 07, 2011

Fall leaves and General Conference

During the afternoon session of General Conference we decided to take another drive.  IT WAS A GORGEOUS DAY! And can I just start out by saying that it was just like this photo below.  Sometimes we struggle to get the eye to see what we see. When we saw what you see in this first photo we were speechless and Tyler stopped the car and got out the camera.  I added a tiny vignette but other than that I didn't do anything to the photo.  How did it turn out so great?  It's called a circular polarizer.  It allows you to cut the glare and get the sky to remain it's amazing blue color. Click on the photo to see it larger. 

Tyler took this photo.

And this one was just off the peak.  I took this photo. Gorgeous wild flowers!

We were shocked how much snow was up there.  It's amazing how much more than what we saw July 2010 and you'd think it being Oct 2011 there'd be less by now.


And Tyler took this photo too. Beautiful!


Wednesday, October 05, 2011

Fall Leaves and General Conference

We found out the BYU has a radio station on satellite radio so on Saturday we loaded up the Jeep at 10 a.m. and headed up into the mountains.  We went up by the ranch where the elk eat during the winter and up to Red Spur.  We ate lunch around Red Spur and enjoyed the view. 


My daughter asked to go to Ephraim's grave (a really big and dead grizzly bear).  And then down and back home. I really enjoyed conference.  Especially Elder Bednar's talk.  It was near and dear to my heart since I helped my dad go from paper to the computer with his family history.  I want to share that love for family history and the temple with my children. I started helping with family history research at the age of 9.

I got to enjoy the beautiful fall leaves and take notes about the bits of inspiration I received during conference.  Now I am reviewing those notes before I pray in the morning to help me and my family during the next 6 months.


Tuesday, October 04, 2011

Haunted Gingerbread Houses - a sticky situation

Well, it's that time of year again.  And I've told people before but I don't they think it'll work or that it's a huge pain.  Let me tell you, trying to get heavy gingerbread to stick together with icing is the huge pain, not this.  First of all, you want nice fluffy brown sugar.  If you don't have one of these discs you are missing out.  Nice brown sugar all of the time.

Lay out all your pieces and know how they fit together.

Using a non stick pan, melt the brown sugar on medium heat.  Yup, that's it - just brown sugar in there.

It'll start to melt and you might have to stir a bit.  Watch it closely and turn it down if it starts to get dark bubbles in it.

Once it's nice and melted it's time to dip the pieces in it.
Make sure the short sides go inside. 

See that nice pretty seam.  Seriously in like 10 seconds it's stuck and not going anywhere.   

 Now just stick them all together and I even put some on the bottom to stick it to the gatorfoam board.  I usually have black board but it was not in the closet so I grabbed the white and will cover it with green coconut. (see the one in the back)  I use a spoon to stick it to tough spaces I can't dip.

 My daughter wanted pumpkin pie so I made 2 - the farthest one doesn't have a crust- I wasn't in the mood to make myself a gluten free crust.  I used a frozen pre-made roll out crust for the other. 

And here is one happy kiddo.  The middle one is the graham cracker house for my son.  Grandma usually makes small houses for the little kids.  We just got a jump start on ours.  I also bought Wilson sprinkle leaves and 4 colors for the icing plus we have some black, purple, and orange decorating sugar from a two years ago.  We never eat them after.  But we eat plenty of candy while decorating.  And we do this while the guys are at Priesthood Session of General Conference.

Monday, October 03, 2011

Harvest Monday - October 3rd

I planted this bare root peach tree last year in the spring.  It took forever for it to sprout a single leaf but it finally did.  This year it had gorgeous blooms all over it but I honestly wasn't expecting anything else to happen. Maybe you remember this photo? Or this photo? They were about the size of golf balls and I had no idea how much they would grow.  Now that I know, I will remove buds that grow too close.  

The two smaller peaches really aren't that big but they'll be yummy on vanilla ice cream as our treat for Family Home Evening tonight.

My daughter picked the first peach.

My son picked the next peach - his was the one that was up top but he got it. 

I picked the last and largest peach.  My daughter wanted to know why.  I told her it was because I bought the tree, planted the tree, watered the tree, added fertilizer around the tree, and gave it its first pruning.  It's nice to add some fruit to all the veggies around here. And my children are excited about eating fresh fruit tonight.

This peach is considered the ultimate canning peach.  The skins slip off easily when blanched. And you can store them for up to 7 years! Not that ours ever last that long - maybe 10 months.

Check out this week's harvest at Daphne's Dandelions.