Monday, August 26, 2013

Getting Organized for School and Homework - Hanging Files


I made these in photoshop using some digital scrapbook paper and the font Buttermilk.  These are obviously for my daughter. 

Then in my Silhouette Studio Pro I used the Cut Tool to make the marks for the Silhouette to cut.  I only made one using the rectangular tool you can see here below. 
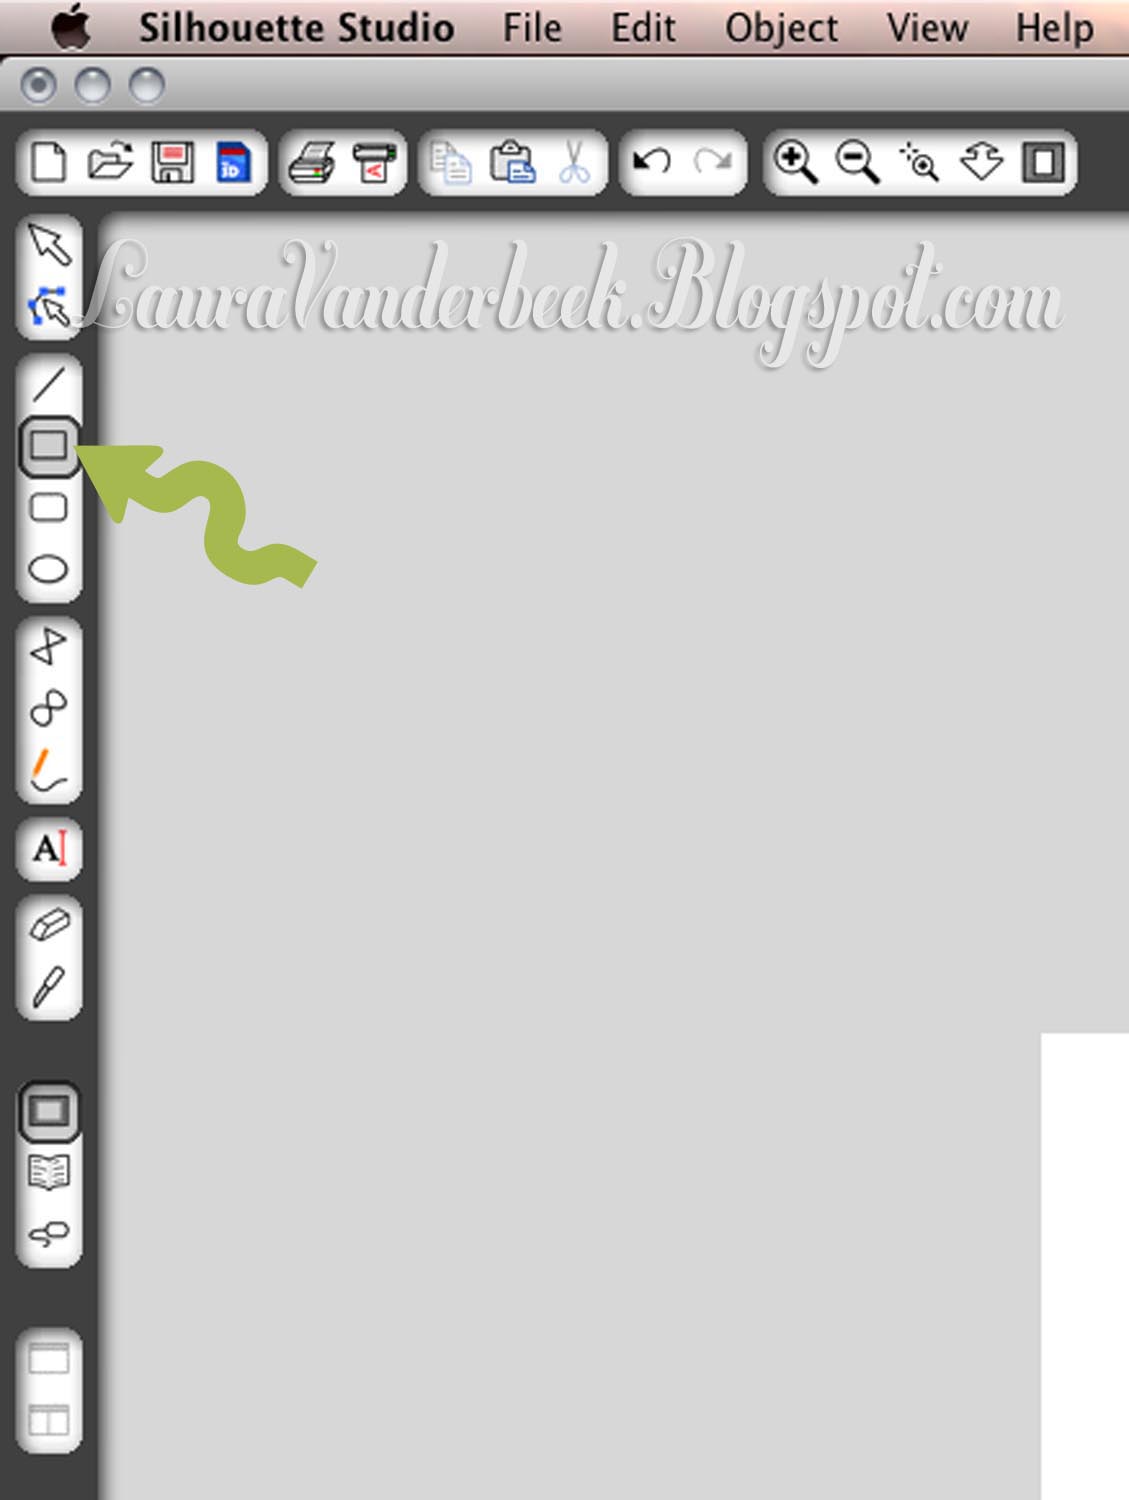

I used Replicate and Duplicate Left. This way it lines up perfectly and I don't have to try and create 7 more boxes the same size.


The most important thing to do when using the Print & Cut Feature is to click Show Registration Marks.  This allows you to line things up in the right spots and you'll need it to be able to cut it with the Cameo.

And you don't need a cutting mat if you use the Silhouette brand sticker paper.


Here it is printed and you can see the registration marks printed.


Peel them off

I stuck them to the paper included in the tabs so that we could easily remover them later. 


Place the paper & Sticker inside the plastic tabs.


Place the tabs at the tops of the hanging files. My daughter was so excited that she wanted to add the tabs.

And take a moment to enjoy it.

Now she can easily keep track of all those papers she gets to bring home.  

She gets to bring it out every time she comes home from school. It worked well last year with 3 teachers but with all the new classes and the 6 teachers she has this year, it needed to be totally redone.  


Sunday, July 28, 2013

I just finished sewing the cutest Halloween Apron and matching oven mitts


 I was so excited I could hardly contain myself while my husband took photos for me.  I purchased the pattern  - "My Little Apron" by Whimsicals. And the mitt pattern is "Rick Rack Oven Mitt" by Red Maple Quilt Co. The fabric designer is called RileyBlakeDesigns.

See? Sew cute right? These oven mitts are made from scraps.

This is the inside - a layer of muslin, 1 layer of unbleached cotton batting, 1 layer of insul-batting - the best price is at JoAnn's armed with a great coupon, and then the last is the layer of beautiful fun fabric. You'll need a little extra for a tab and to bind the edge. One side is plain and the other side I added the spider web fabric and some green ric-rac ribbon.

See, one side is plain. And you see the other side before I added the ric-rac. 

And I was just getting ready to add the ric-rac and start sewing all the pieces together. 


This is of course the front of the apron and this side has pockets and the lovely spiderweb trim.  I purchased my fabric at My Girlfriend's Quilt Shoppe in Logan.

You can see the bib better in this photo.  And those of you who know me, know its a big deal for my hair to be wavy.  This is the longest it's been in over 7 years thanks to going bald with cancer treatment.  

This apron is reversible and so this is the other side.  No cute spider web trim at the bottom and no pockets.  You really could get creative and make this other side something completely different. 

I think I may have to be a Kitchen Witch for Halloween this year.  I have my hat and a black dress but that is it. I think I need to sew a great 50's inspired dress to go with this.


What's growing in my garden right now?

 my asiatic lilies

  baby pumpkin

  day lily
 asiatic lily

daisies

day lily

day lily

echinacea


garlic

Some grapes- yay!

Why are most of my grape plants dying off?

green beans

tomato plants


clematis

asiatic lilies
  peaches

pumpkins


purple day lilies


red asiatic lilies